Notching wood has been a traditional method of a woodworking project, mainly used to strengthen the joints. It has been in practice for a long time now and carpenters and even common people, the expert in carpentry, use it as a method to give support to their structures and make their wooden frameworks more durable.
More...
Overview: How to Notch Wood?
For beginners, however, notching can be difficult to master and hard to understand if all the benefits of it are not laid us properly.
So, let us take a look at how to notch wood before we move on to the nuances of notching wood.
The basic application of notching is to give support and rigidity to a wooden framework. But it does appear as a pleasant and an attractive sight if done properly.
The places where the joints are visible screw binding or other processes can be used to provide support. But the places, where they are not visible, notching is the only lifeline.
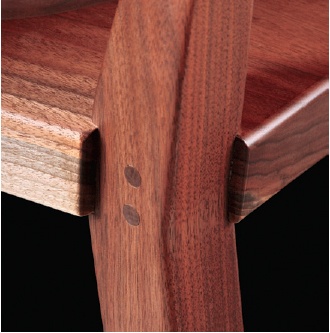
Notching Wood via Rockler
It may not necessarily have to look pleasant; only the basic support to the framework serves the purpose.
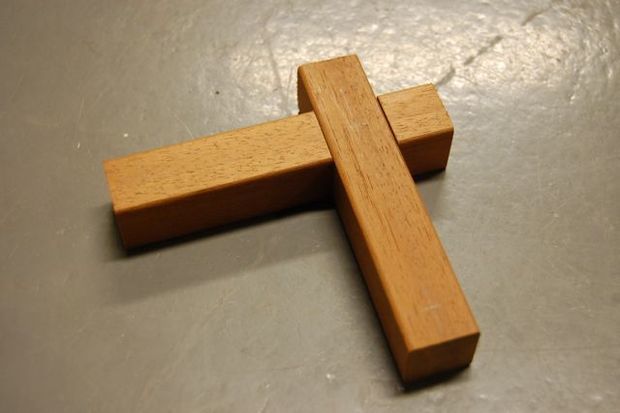
Binding Notch via Instructable
If you happen to climb under an attic, you might as well see the notch, which is invariably provided to maintain the shape of the framework; an L-shaped piece of structure, binding the two L-shaped joints.Notching does not necessarily have to be deep.
Having said this, you need to analyze the type of joint carefully before you decide to notch the wood deep. The most obvious time when you need to notch deeper than other times is when you are providing rigidity to bigger frameworks.
Side Table: Hand Cut Notches
Common sense says that bigger frameworks are heavy on each other and require special attention to maintain their structure. At times like this, you need to notch deeper, ensuring that the beam or the attic does not come crashing on your head.
Position of Your Notch
The exact depth, however, will depend on the load which the concerned framework is bearing and also the cross section of the wood. One important thing that you need to keep in mind is the fact that the depth will also depend on the position of your notch.
If the load is heavy and notch on the edge of the framework, the support will come crashing down in no time. So, make sure that you get the location of your notch spot on before you begin to drill.
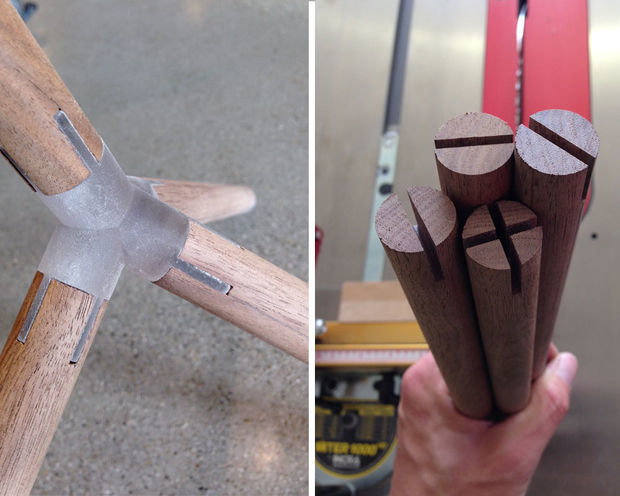
Dowel Notching Jig via http://www.instructables.com/
Do Some Mathematics
Coming to the mathematical part of the notching, (yes there is mathematics involved!) you would want to make sure that you either go for 2 by 4 notching or the recommended 2 by 2 notching.
Depending on the joint, 2 by 4 notching is particularly helpful against smaller beams and attics, which have a lot less than the bigger pillars and beams.
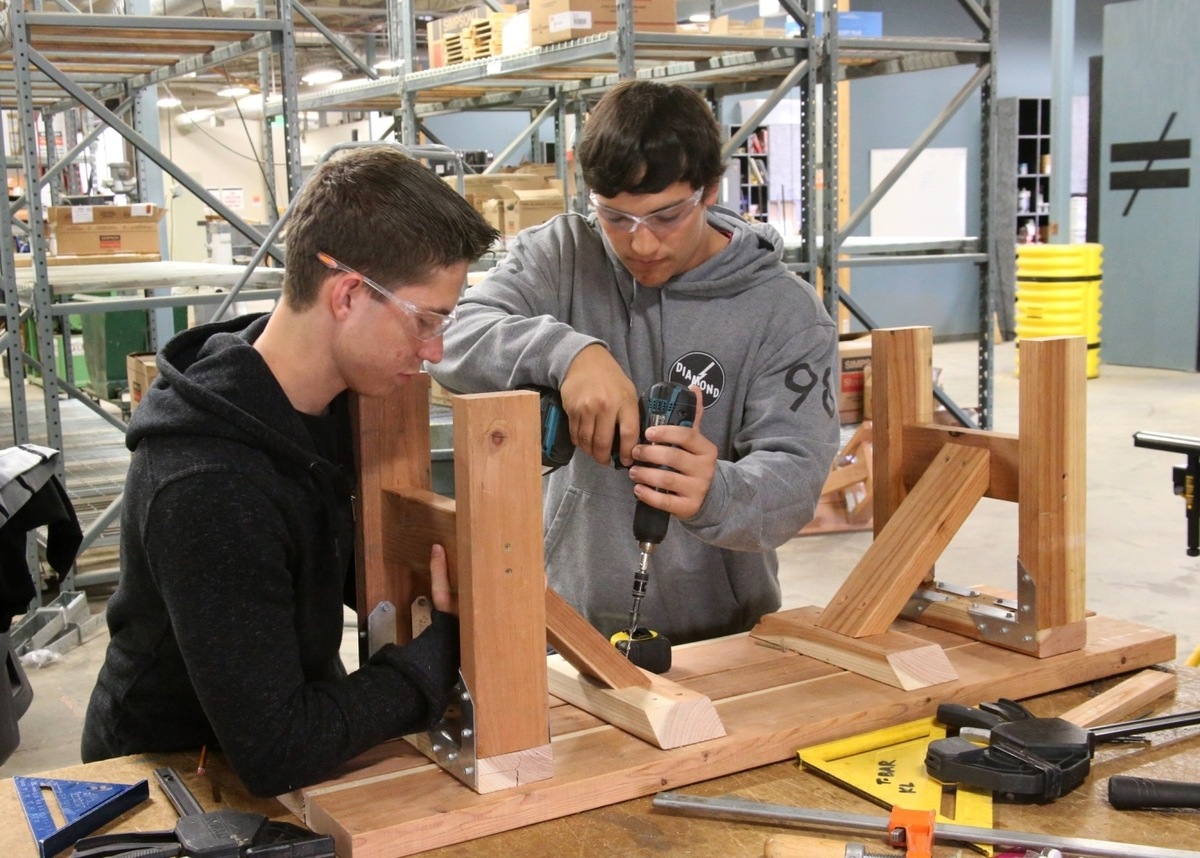
Notching Project via http://diydoneright.com/tag/rtc2z-connectors/
In that case, the best option for you is to opt for the 2 by 2 notching, which provides stronger and bigger beams with the perfect support and rigidity.
Notching can use up half of you wood, so make sure that you always have some extra if you wish to preserve the stability and strength of your beams.
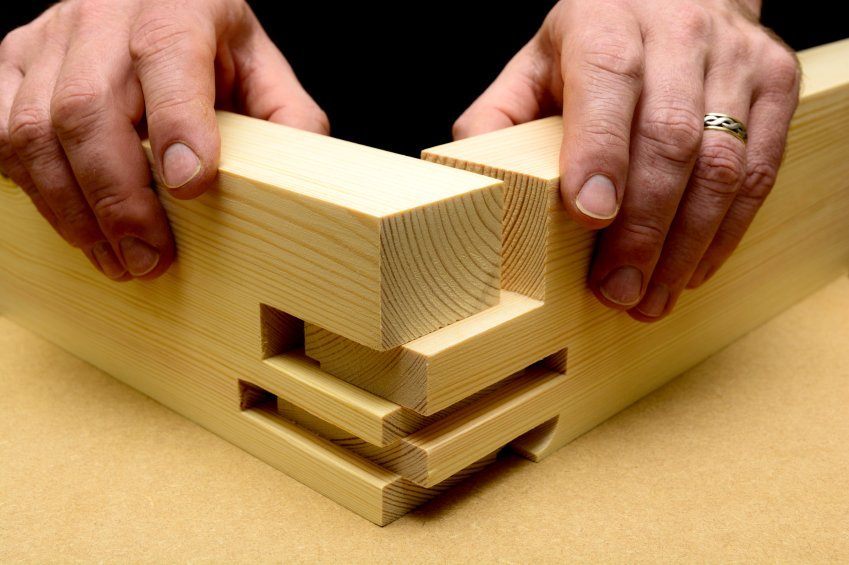
10 Types of Wood Joints via Do It Yourself
For example, if you’re hell bent on using the aforesaid types of notching, make sure that you take twice the area of cross section of wood that you would actually require. After notching, it will come to the actual requisite amount and hence, your woodwork will be perfectly preserved.
Here are a few specific ways which will help you get started
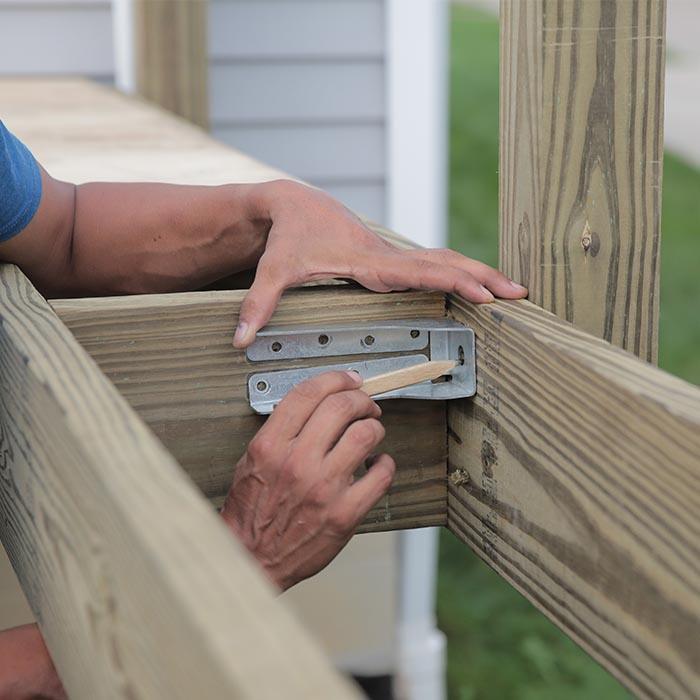
How to Build a Deck: Wood Decking and Railings via Lowes
- Measure and chalk out the exact depth and the area of the wood which will be notched. These markings can be achieved with the help of a marking tool, such as a cutter knife.The sharp edge will give you the outlines, which is essential to mark the wood.
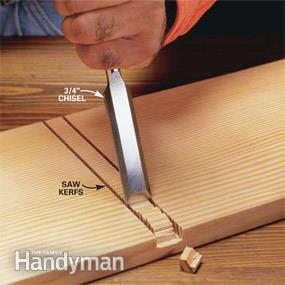
Chisel a dado via Family Handyman
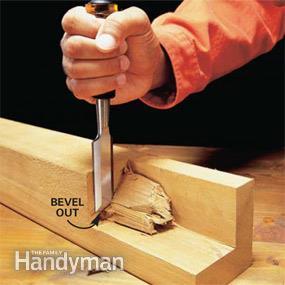
Remove chunk of wood via Family Handyman
- After you are through with the marking, you can take the help of the necessary wood notching tools, to help you get started with the notching. Pay particular attention to the grain of your wood. The tools get easily pulled along the grain which can completely mess up your wood. It is recommended that you start off by applying a small amount of pressure and gradually increase it.
- After you’re done with notching, take the help of the finisher to curve your edges properly and your structure will be as good as it gets.
Let us now take a look at the type of tools that you can use to notch wood
There are quite a few wood notching machines in the market. I am listing a few of the best and the traditional ways in which you can notch with precision and perfection.
Hammer & Chisel
The oldest tools of notching are still in use and haven’t faded away since its introduction.
Quite obvious that the ?power tools, run by electricity is obviously faster and gets the job done quick, but there are times when one cannot do without the hammer and the chisel. As they say, Old is Gold.

Warrington Hammer via uktoolcentre.co.uk

Firmer Chisel via luxuryhomestuff.com/#pecktool.com
Circular saw
Circular ?Saw is efficient when it comes to slicing the wood and making grooves, only to be removed by the chisel. You can also set the required depth and it will cut finely grained wood for you.
However, note that slicing is only applicable when you’re making perpendicular grooves to the piece of the wood, as removing them and slicing them with a chisel would damage the wood.
Power Drill
The main function of the power drill is to get deeper notches. Though it has less control than the router, the drill is particularly efficient when it comes to perpendicular drill, crating deeper notches.
Router
Router is one of the most useful wood notching tools. You can easily set the requisite depth according to your plan and can plunge out the part of that wood. It can quickly remove the part of the notched wood with uniformity.

Two-base router kit via http://www.acetoolonline.com/Bosch-MRC23EVSK-Router-Kit-p/bos-mrc23evsk.htm
But be aware that you must need to have a template in mind because otherwise, you need to finish it off using the old style, i.e., with hammer and chisel.
This concludes all the basic things that you need to know about notching and the tools that are required to make your job easier.
Some Extra Videos on How to Notch Wood
How To Notch Wood With A Chainsaw?
How To Notch Wood With A Circular Saw?
How To Notch Wood With A Jigsaw?
How To Notch Wood With A Chisel & Circular Saw?
Looking for more woodworking projects that can sell? click here.


Thanks so much for this tutorial. As an intermediate woodworker, I was struggling today to create a 38” notched-channel in a very dense cedar log cutting. It’s interesting that I had an ‘ah hah” moment while reading the suggestion on using a drill. I will try that.