The staple of a DIY bathroom or kitchen, the Hardiebacker board is quite a formidable foe. You’ve probably heard thousands of horror stories from fellow remodelers and renovators alike and how they waste hundreds of dollars trying to take the shortcuts to save time.
The bottom line is if you’re dealing with a Hardiebacker that’s over ¼” thick, you’re going to need to go the long way to making sure you get it right the first time.
And while the long way isn’t as glamorous as a neat “life-hack” (no pun intended), it will guarantee that you get the cut right the first time. All it takes is the right tools, a slight bit of technique, and a little bit of time.
As long as you’ve got the end product in mind, every minute used in crafting the precision of the cut is worth the time down the road.
More...

Hardiebacker Board via James Hardie
MATERIALS & TOOLS
- Straight Edge
- Pencil
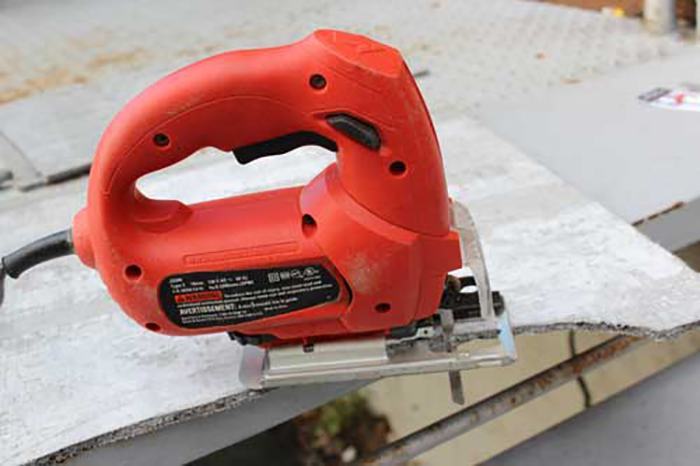
- Cutting Option 1: Jigsaw with an abrasive blade (We recommend using the Bosch Model # T141HM1 jigsaw blade, but any wood blade will work as well. Make sure the blade is coarse)
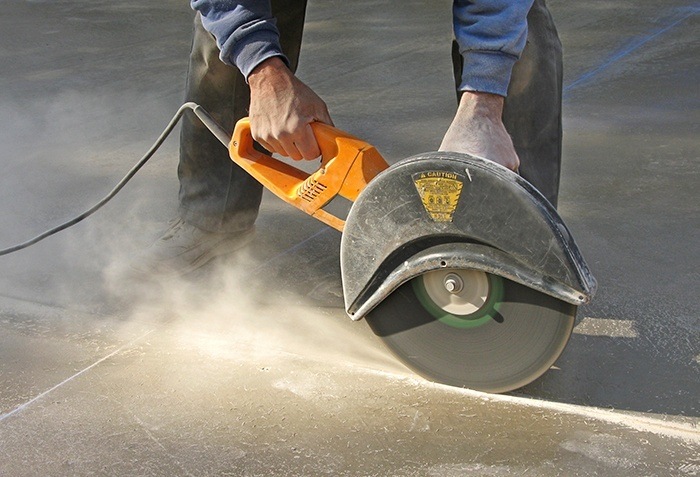
- Cutting Option 2: Circular Saw (This method is slower and creates more dust. Use outside and exercise protection when using this method. We recommend using a Fiber Cement blade with six teeth)
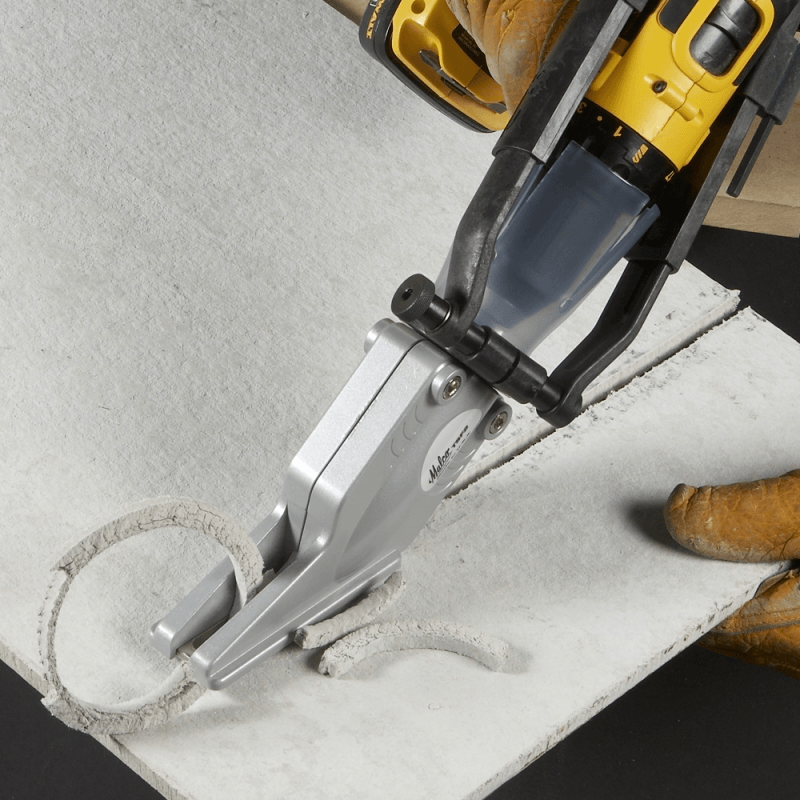
- Cutting Option 3: Shear (We recommend the Snapper Shear SS424)
- Dust Mask
- Eye protection
- Time and patience (Rome wasn’t built in a day, and neither should your bathroom or kitchen!)
METHOD 1: Using the Jigsaw Blade
When cutting the Hardiebacker board, make sure you have a proper dust mask placed correctly over your mouth and nose. Hardiebacker board dust contains Silica, the same compound found in electronics packages meant to absorb any moisture in the air.
And while Silica can be put in a cement board to help prevent mold and mildew from growing underneath your floor or wall tiles, it is also a known carcinogen that does not belong in the human lungs or bloodstream.

Cut cement board
There are some differences between jigsaw and circular saw. The jigsaw creates significantly less dust than the circular saw (with the shear creating the least amount of dust out of all the cutting options), but we still recommend you exercise proper respiratory protection and eye protection whenever cutting Hardiebacker boards.
Place the Hardiebacker board on a level table. Using your straightedge and pencil, mark on the Hardiebacker exactly where you wish to cut.
Set the jigsaw to orbital action (this will help the blade from jamming when cutting along the cement), and starting from the edge of the board, very slowly move the blade across the Hardiebacker. Make sure the jigsaw doesn’t overheat.
METHOD 2: Using the Circular Saw
This method is very similar to the jigsaw but creates a tremendous amount of dust. Because of this, we highly recommend exercising facial protection, as well as cutting the board outdoors.
Curves are not as simple with the circular saw as with the jigsaw. The circular saw is the least recommended of cutting Hardiebacker board, but it is still possible if this is the only type of saw you own.

Circular saw
Just make sure to account for the amount of dust this method creates. Same as the jigsaw, place the Hardiebacker on a level table, pencil in your line, and cut along the line to the best of your ability.
METHOD 3: Using the Shear
The shear is the best tool to use for the job but is meant more for professionals that work with cement boards on a daily basis. If you are willing to lay down some extra cash to get yourself one, it will make cutting the Hardiebacker far easier and painless.
With the Hardiebacker on the level table and the line(s) penciled in, start at the edge and cut with the shear. Make sure the entire top piece of the shear is level with the board, otherwise you will end up with jagged edges.

Shear via Malco
As you slowly move the shear across the board, you will notice that the excess cement board will begin to curl out of the board as you cut. This is perfectly natural. It might seem harder to see your line(s), but this curl will make the edges of your Hardiebacker board much smoother than any other one of the methods.
The shears are the most efficient way of cutting the board and also create the least amount of dust out of all of the previously stated methods. Despite this, we still strongly recommend exercising proper facial protection when performing this action.
METHOD 4: Shortcuts (for ¼” and thinner)
If you have a Hardiebacker board that’s less than ¼” thick, you can use some shortcuts, since the thinner the board, the less chance of it getting ruined through bad technique.
Check out this video from YouTube account “James Hardiebacker” (a fan-made account) for some quick tips to cutting thin Hardiebacker boards pictured above:
(the video claims it’s using a ½” Hardiebacker, but we don’t recommend using the shortcuts shown in the video on anything thicker than ¼”).
If you are new to remodeling or renovating, this will most likely be the hardest step of the process. If you’ve followed one the methods above, you should be able to navigate this step with little to no disasters.
It is vital that you attack this step with precision, patience, and focus. We promise that, in the long run, this step is entirely necessary.
If you wish to have a beautifully tiled kitchen or bathroom that lasts longer than the house itself, the Hardiebacker board is the way to go. Good luck!

